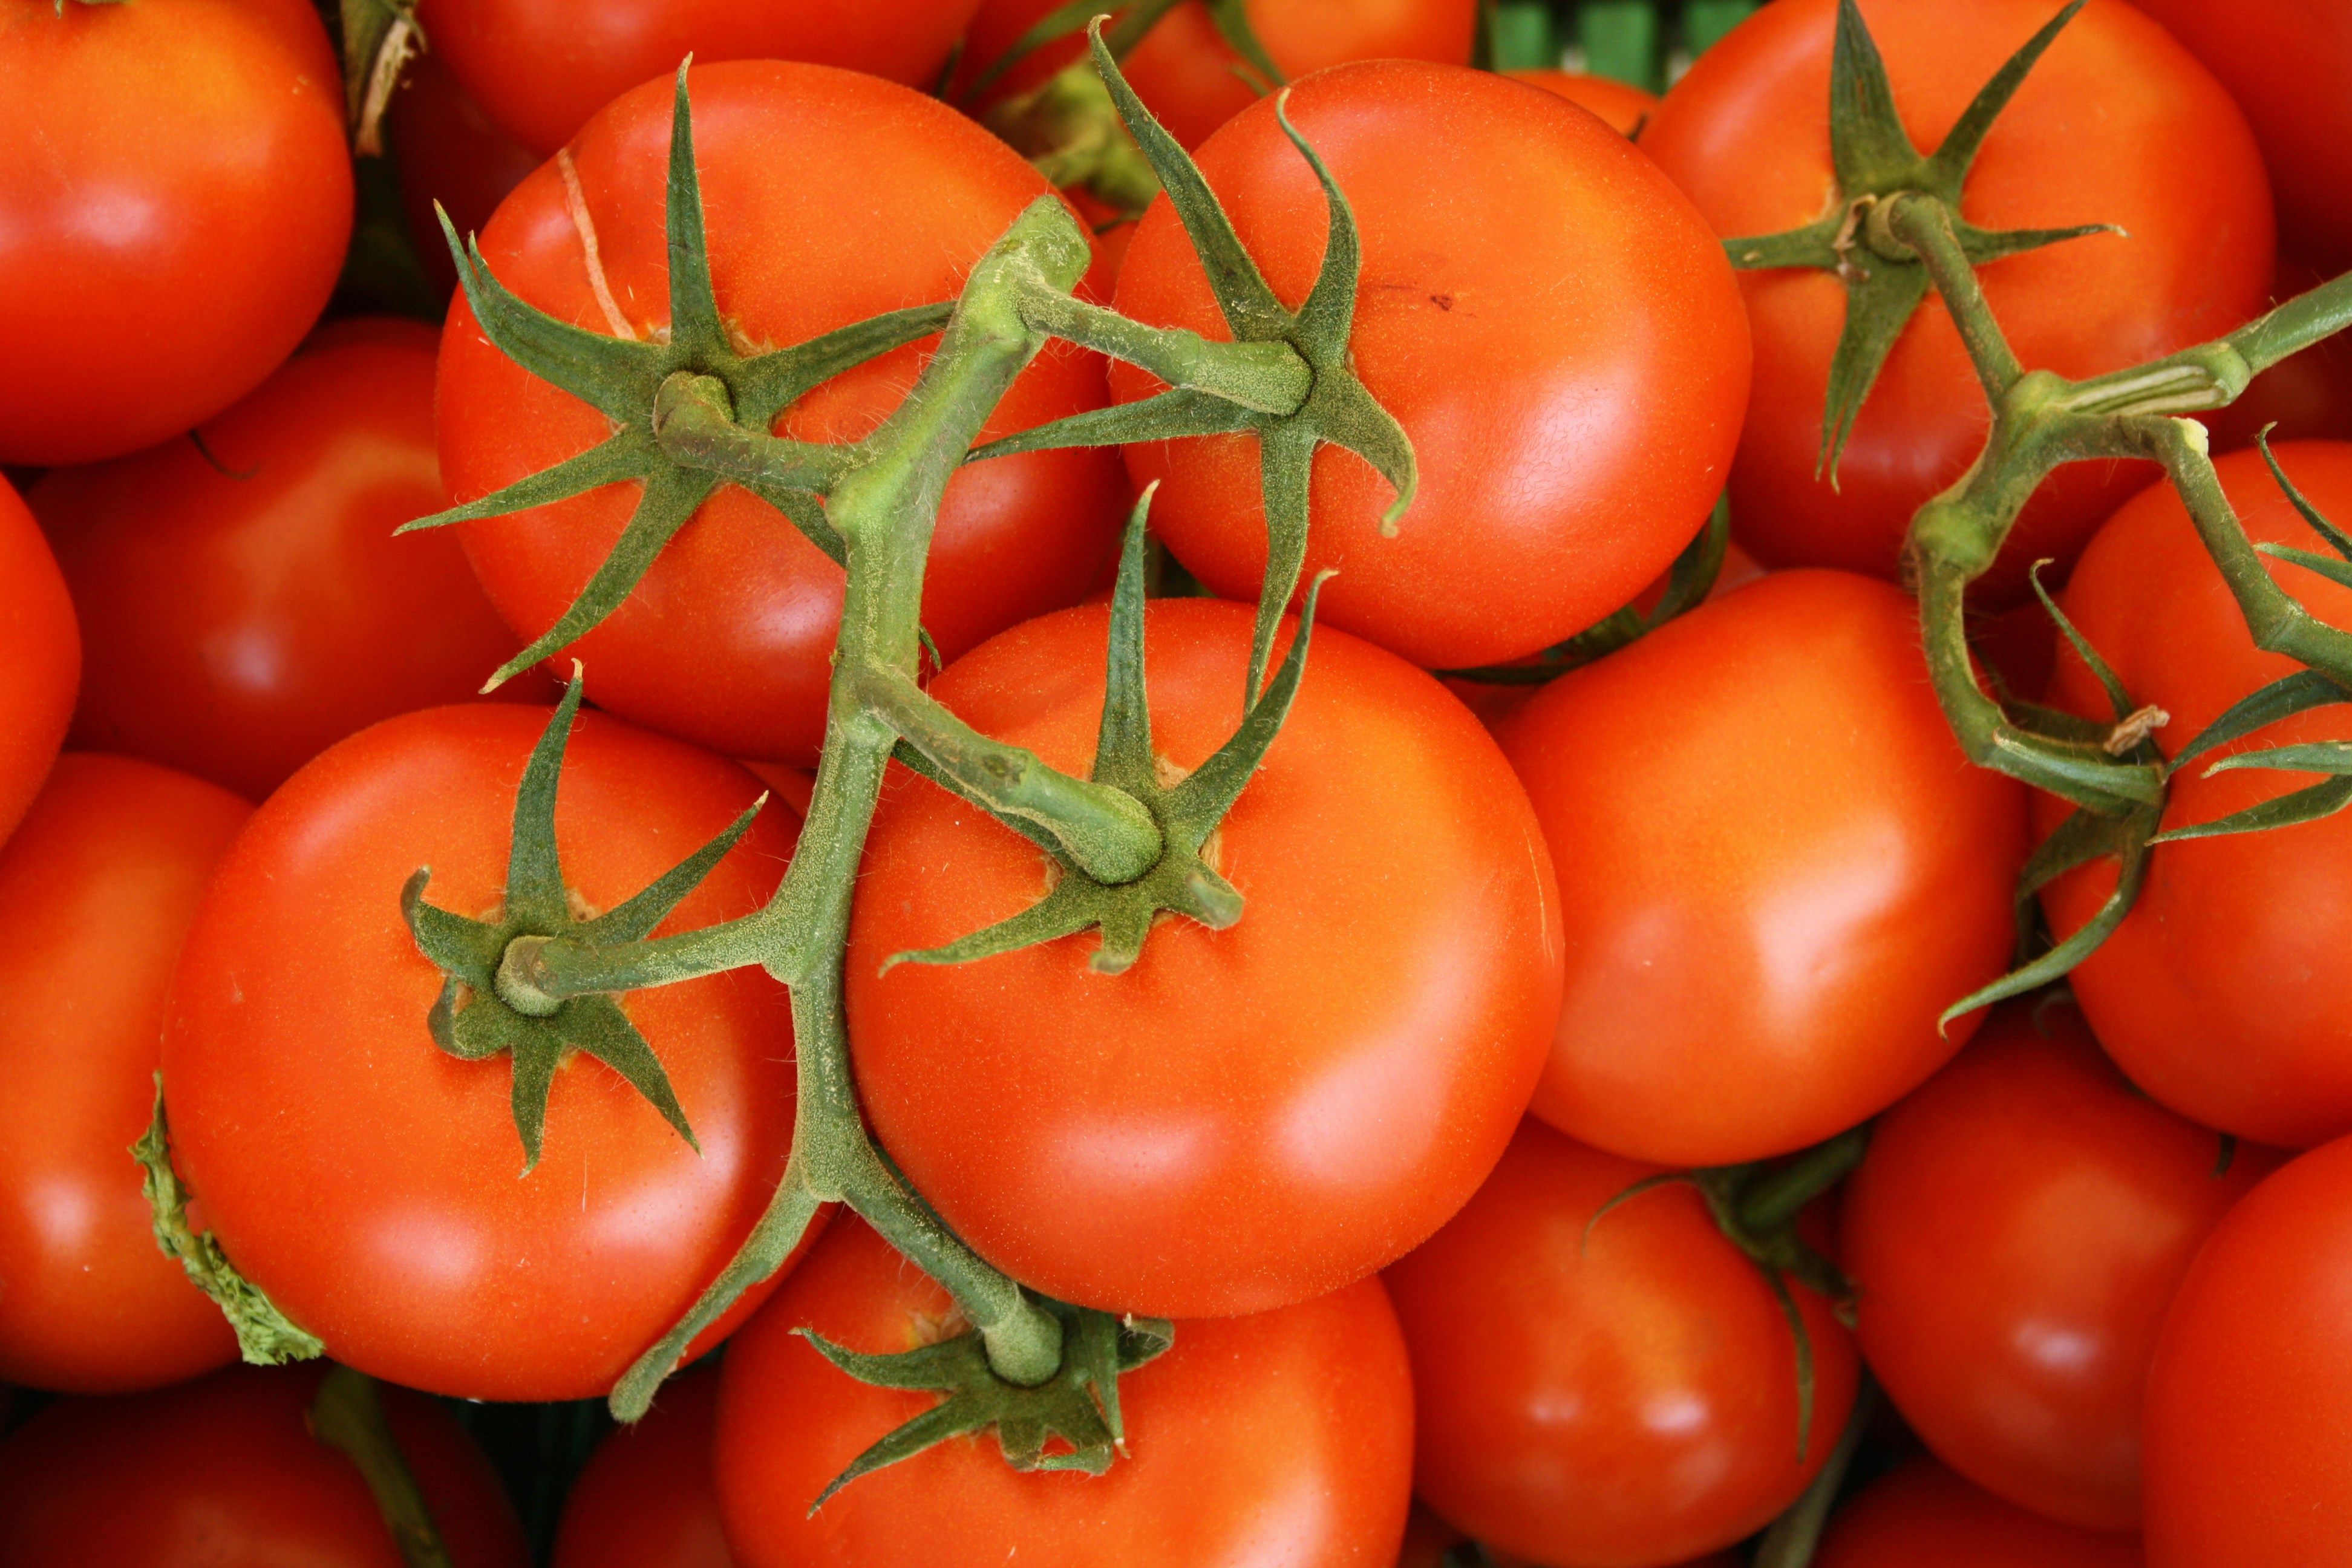
Tomatoes are one of the most mycorrhizal-responsive plants you can grow. They form an endomycorrhizal relationship naturally, and when that relationship is strong, the difference is visible: bigger root systems, faster establishment, more consistent fruit set, and better performance through dry spells. If you're growing tomatoes and not using mycorrhizal inoculant, you're leaving one of the most effective biological tools in the garden unused.
This guide covers why tomatoes respond so well to mycorrhizae, when and how to apply it, and what to realistically expect from the relationship.
Why Tomatoes Respond So Well to Mycorrhizae
Tomatoes are heavy feeders. They need consistent access to phosphorus for root development, calcium for fruit set and blossom-end rot prevention, potassium for fruit quality, and a steady supply of water throughout the growing season. These are exactly the resources mycorrhizal fungi specialize in delivering.
The fungal hyphae extend far beyond the root zone, accessing phosphorus locked in soil chemistry that plant roots can't reach on their own. They tap into water in microscopic soil pores unavailable to even fine root hairs. And they create a direct pipeline between the soil and the plant that stays active even when surface soil dries out between irrigations.
Tomatoes grown in disturbed soil, potting mix, or raised beds are especially good candidates. These environments often have little to no native mycorrhizal population. Garden soil that has received high rates of synthetic phosphorus fertilizer over many years is similarly depleted. Inoculating at planting gives the tomato plant access to a biological system it would otherwise go without.
When to Apply Mycorrhizae to Tomatoes
Timing matters. Mycorrhizal spores need direct root contact to germinate and colonize. The sooner colonization begins, the more the plant benefits during its most critical growth phases: establishment, flowering, and fruit set.
At transplant: This is the ideal window. When you're moving a tomato seedling from a pot or tray into the ground or a larger container, apply the inoculant directly into the planting hole before the roots go in. The spores will be in immediate contact with active roots from day one.
At seeding: For tomatoes started from seed, dust or coat the seed with inoculant before sowing, or mix it into the germination medium. Colonization will begin as soon as the first roots emerge.
For established plants: If your tomatoes are already in the ground without inoculant, a soil drench applied around the root zone will work, though it takes longer to establish than transplant application. See our guide on how to soil drench mycorrhizae for the step-by-step process.
How to Apply: Step by Step
Transplanting (Recommended Method)
- Dig your planting hole to the size of the root ball.
- Sprinkle about 1 teaspoon of Big Foot Gold into the bottom and sides of the hole.
- Place the tomato plant so the roots are in direct contact with the inoculant.
- Backfill and water normally.
That's it. No mixing, no pre-soaking, no special timing beyond planting day. The inoculant activates with moisture and root contact.
Soil Drench for Established Plants
Mix Big Foot Concentrate according to label directions and apply as a drench around the base of the plant, targeting the root zone. Apply when soil is moist and repeat every 2 to 3 weeks early in the season to accelerate colonization.
What to Expect
Mycorrhizal colonization is not an overnight event. In the first two to four weeks, the fungi are establishing themselves within the root system. You won't see a dramatic visual difference during this period. By weeks four to eight, the hyphal network begins extending into the surrounding soil and the plant starts benefiting from expanded nutrient and water access.
What you'll typically notice over a full growing season:
- Faster establishment after transplanting, with less wilting and transplant shock
- Stronger root development when you pull or examine the plant
- More consistent growth during dry periods or between irrigations
- Better fruit set and more even ripening
- Reduced yellowing from phosphorus or micronutrient deficiency
The results are most pronounced in depleted soils, potting mixes, and raised beds. In rich garden soil with an established native mycorrhizal population, the benefit is real but smaller, since some colonization may already be occurring naturally.
What Not to Do
A few practices undercut mycorrhizal colonization and are worth avoiding, especially early in the season:
- High-phosphorus fertilizers at planting: When phosphorus is abundant, tomato plants stop investing in the mycorrhizal relationship. Use lower-phosphorus fertilizers, or hold off on phosphorus applications for the first few weeks after inoculation to let the fungi establish.
- Soil fumigation or broad-spectrum fungicides: These kill fungal populations including mycorrhizae. If fumigation is part of your program, apply inoculant after the waiting period. For fungicide compatibility, see our guide on using mycorrhizae with fungicides.
- Heavy tillage after application: Tilling tears apart the developing hyphal network. Once inoculated, minimize soil disturbance around the root zone.
Which Big Foot Product to Use
For most home gardeners transplanting tomatoes, Big Foot Gold is the straightforward choice. Apply 1 teaspoon per transplant hole. It contains multiple endomycorrhizal species suited to vegetables including tomatoes, along with beneficial bacteria and humic acids.
For larger gardens or raised bed systems where you want to drench multiple plants or apply through irrigation, Big Foot Concentrate covers more ground per dollar and applies easily through a watering can or drip line.
For row-scale production, Big Foot Granular can be banded at seeding or incorporated into the bed before transplanting.
Give your tomatoes a stronger start this season.
Big Foot Gold, Concentrate, and Granular are all OMRI listed for organic production.
Shop Big Foot MycorrhizaeFrequently Asked Questions
Do tomatoes benefit from mycorrhizal fungi?
Yes. Tomatoes are endomycorrhizal plants, meaning they naturally form partnerships with arbuscular mycorrhizal fungi (AMF). This relationship improves phosphorus and micronutrient uptake, increases drought tolerance, and can improve fruit set and yield. The benefit is strongest in potting mixes, raised beds, and soils depleted by tillage or high synthetic fertilizer use, where native mycorrhizal populations are low.
When should I apply mycorrhizae to tomatoes?
The best time to apply mycorrhizal inoculant to tomatoes is at transplanting. Place the inoculant directly in the planting hole so the roots make immediate contact with the spores. This gives colonization the maximum head start during the plant's most critical growth phase. For established tomatoes, apply as a soil drench around the root zone.
How much mycorrhizal inoculant do I use for tomatoes?
For transplanting, use approximately 1 teaspoon of Big Foot Gold per planting hole, placed directly in contact with the roots. For soil drenching established plants, follow the label directions for Big Foot Concentrate, typically mixed with water and applied around the root zone. More is not better: the spores only need to contact the root to colonize, and excess inoculant is not harmful but adds no additional benefit.
Can I use mycorrhizae with tomato fertilizer?
Yes, with one caveat: high-phosphorus fertilizers applied at the same time as inoculation can suppress mycorrhizal colonization, because plants stop investing in the fungal relationship when phosphorus is freely available. To get the most from mycorrhizal inoculant, delay high-phosphorus fertilizer applications for two to four weeks after inoculation, or use lower-phosphorus fertilizer formulations throughout the season. Other fertilizers, including nitrogen and potassium, do not interfere with colonization.
How long does it take for mycorrhizae to work on tomatoes?
Mycorrhizal spores begin germinating within days of root contact in moist soil. Initial colonization establishes within two to four weeks. Visible effects on plant growth and vigor typically appear four to eight weeks after application as the hyphal network expands into the surrounding soil. The full benefit accumulates over the entire growing season, with the most noticeable differences often appearing during periods of heat or drought stress.